

© DeMarco Musical Instrument Repair 2009
Woodwinds
Clarinets and oboes:
1. Carefully remove the instrument from the case being care not to bend keys or rods
especially while assembling.
2. Remove the reed after playing, placing it in a reed case to dry.
3. Always swab the bore of your instrument after playing to remove moisture. A silk
swab is best. If playing for long periods of time, swab after 20 - 30 minutes of
playing to keep moisture off of pads.
4. Wipe the keys and exterior of your clarinet with a soft cloth to remove oils and
perspiration from your hands.
5. Never leave a wood instrument in a closed car especially on a warm day.
6. Grease the corks regularly. Rub cork grease into them, but don't use too much or too
often or the corks will rot.
7. Place the cap over the mouthpiece before storing. Always store the clarinet in its
case.
Flutes and Piccolo’s
1. Remove flute carefully from the case, being care not to bend the keys or rods,
preferably pick it up by the ends.
2. Assemble the flute with a slow back-and-forth twisting motion, never push or pull
the flute when assembling or disassembling this can cause the instrument to
become bent at the joints.
3. Carefully wipe the tenon’s with a soft cloth to remove built-up debris, never use
lubricants on tenon’s.
4. After you are finished playing, use a cleaning rod with an absorbent cloth to swab
out the inside of all parts to remove moisture. Carefully wipe off the outside of the
flute to remove oils or perspiration caused by your hands.
5. Always store your flute in its case when not in use, this helps prevent damage and
aids in keeping the instrument from tarnishing. Do not place anything in the case
that can press on the flute, this can bend keys.
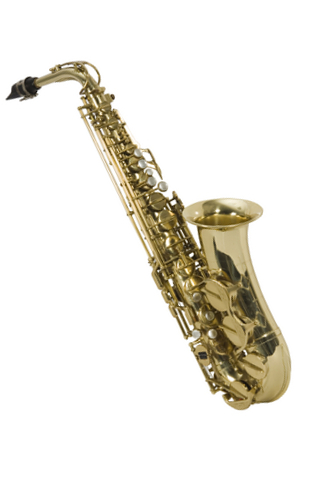
Saxophone
1. Remove the reed after playing placing it in a reed case to dry
2. When finished playing swab the inside of the saxophone with a swab made for
saxophones. Be sure to remove the moisture that may have collected in the bow.
3. Wipe the keys and exterior of your saxophone with a soft cloth to remove oils and
perspirations from your hands.
4. When removing the neck be care full to not bend the neck or damage the neck
tenon. NEVER pick up the saxophone by the neck.
5. Grease the mouthpiece cork, being careful not over grease the cork.
6. Always replace the tenon end plug to protect the tenon.
7. Place the cap over the mouthpiece before storing. Always store the saxophone in
its case
If you want to use a “Pad Saver” for your woodwind instrument purchase the best available, inexpensive “Pad Savers” leave lint and residue inside the instrument.
Brass
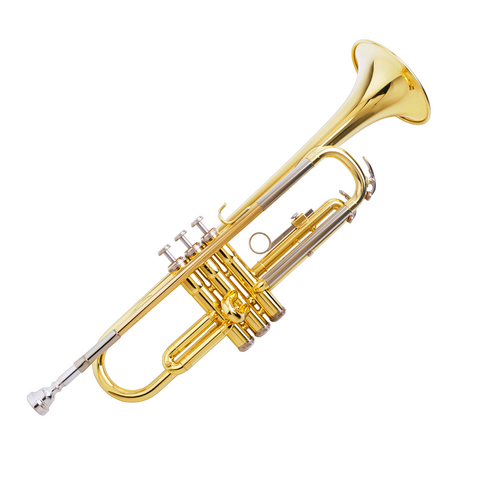
Piston Valve Brass
1. Oil valves daily. Apply a few drops of premium valve oil to each valve.
2. When finished playing be sure to remove excess moisture by opening each water
key and blowing throw the instrument
3. Wipe the exterior with a clean soft cloth to remove oils and perspiration caused by
your hands.
4. When replacing valve caps be careful not to cross thread them. If any resistance is
felt stop and start over.
5. Never try to remove a stuck mouthpiece yourself. Take it to someone that has a
mouthpiece puller. NEVER use pliers.
Monthly Brass Care
1. Completely disassemble the instrument, including all valves and slides. Remove
felts from pistons as you do not want to get the felts wet. Remember the order of
the felts as this determines the valve alignment when reassembled. Do not
attempt to remove stuck valves or slides yourself, take it to a qualified repair
person.
2. Place all parts in a large sink or bathtub with warm water with a mild dishwashing
soap. Do Not use Hot Water.
3. Brush the inside of all tubing with a tubing/bottle brush of the proper size. Clean
the outside of the instrument with a sponge or soft cloth.
4. Thoroughly rinse with clear warm water and dry completely.
5. Assemble tuning slides with slide grease, use thinner grease on 1st and 3rd trigger
slides. Otherwise use your regular tuning slide grease on all.
6. Carefully reassemble the valves, corks, felts caps and finger buttons. Oil valves
using about 8 to 10 drops spaced all over the valve, spin the valve carefully as you
insert it into the casing to distribute the oil.
7. Insert the valve into the casing being care to properly align the valve. Tighten the
valve caps and replace the bottom caps.
Trombones
1. Follow steps 1 through 4 for piston valve brass.
2. Assemble tuning slide with slide grease.
3. Use slide cream and slide oil only for trombone slides. Always be careful when
the slide is disassembled as it will dent and bend easily. These repairs are
expensive.
4. Assemble slide making sure the slide lock is in the correct position.
Rotor Valve Bras.
1. These should be taken to a repair technician as these instruments have special
requirements and are easily damaged at home.

